Oooh… Shiny!
Well, since my last update I have been to Orange, CT and Miami, FL for work. Next week is D.C.!
I am one of those that prefer the bare metal walls. As soon as I found out stripping them was a thing, I knew that I was going to do that even before purchasing the Airstream.
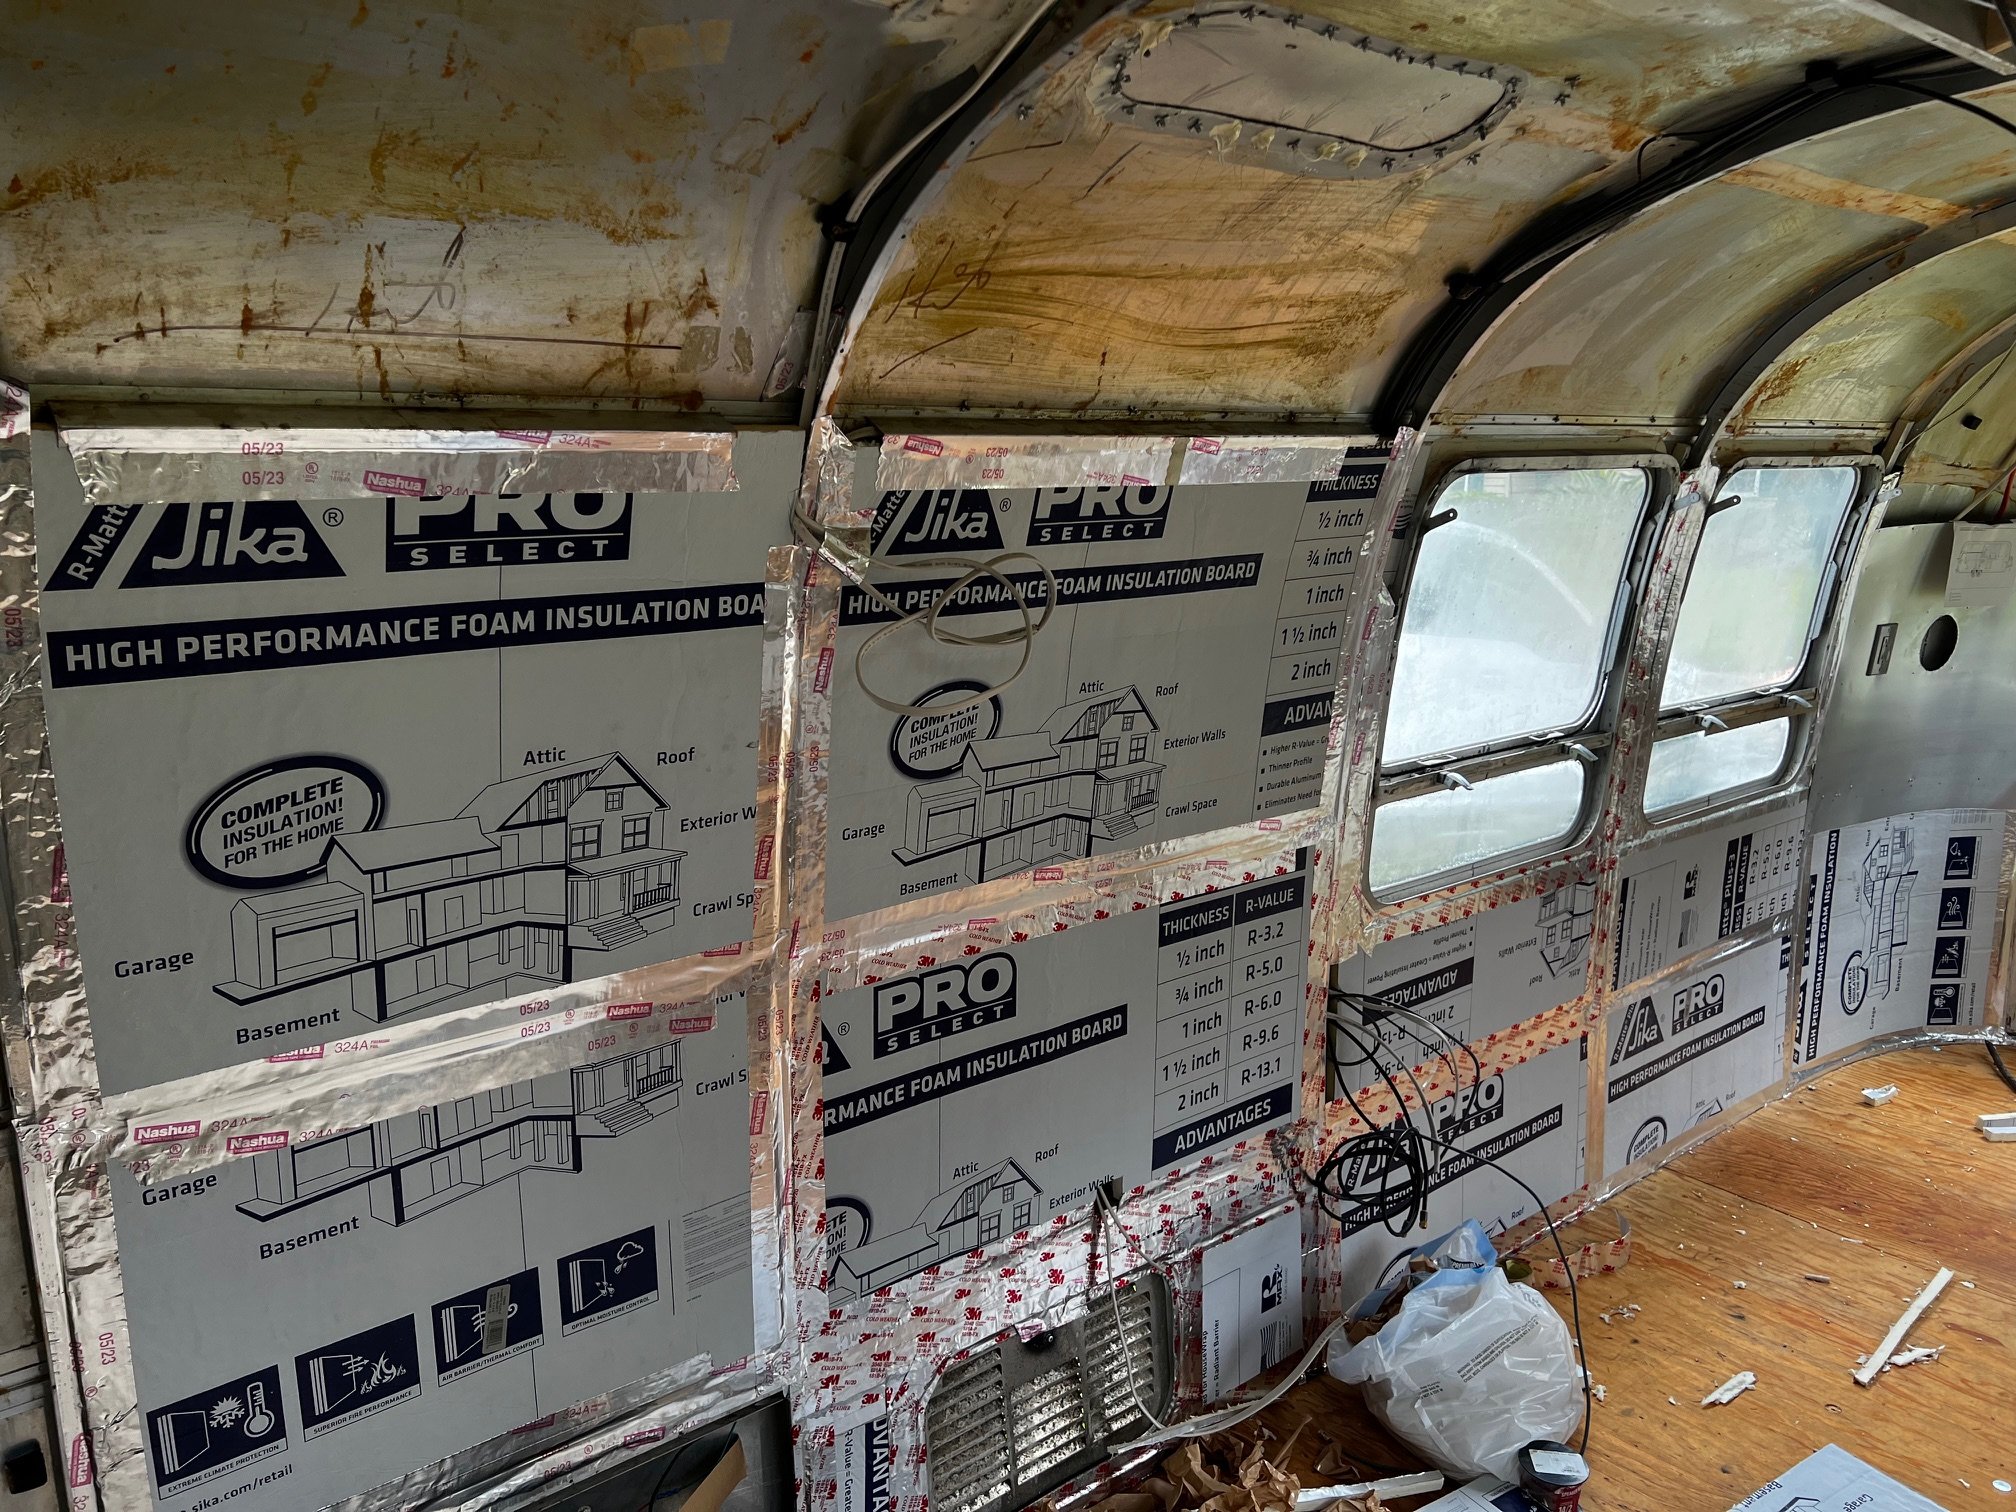
In between my travels, I've managed to get the walls insulated with 1.5" of Pro Select R-Matte Plus-3. I planned on three layers of 1/2" to conform easily to the body, but I mistakenly bought a mix of 3/4 and 1/2", so there ae two layers of 3/4" in the vertical surfaces.
Not shown is a Furrion 30A shore power inlet, Weatherproof RJ45 inlet, and Furrion Coax inlet on the street side just behind the rear wheels. Not sure how often I'll get cable TV access at campgrounds, but the RJ-45 is for plugging in Starlink or another standard wired internet access. The power is for... well, power!
I went ahead and ordered the segmented panels from Airparts and started to tackle the end caps.
I grabbed what I read as Rockwool at the big box store, but I must have grabbed the wrong package, because I wound up with fiberglass blow in insulation. It worked OK, but it didn't like to stay put. It will be fine. I put a panel in, and then stuffed it in behind it.
Airparts recommended 12" panels for the job. I wound up overlapping them at 1" for the first two seams, then increased it to 2" for the rest. The center piece would have been too crowded had I just stayed with the 1" overlaps.
The worst part about the end caps is getting the first ones right. The rest are cake. With the compound curves if you cut the first piece where you think it needs to be cut, you will find out real quick that you are wrong! Give yourself a solid 1/2" or more margin on that first cut line to match the top of the window. When you cut it, the panel will lay differently and more into the curve. Sneak up on that final cut with cut, test, cut, test, cut, fit!
Before you know it you will have a nicely done end cap!
The front was the same story. This time I used cellulose insulation instead of fiberglass. I was hoping it would stuff between the foam blocks better. As you can see by the amount on the floor, it did not stuff very well. I added a couple of 12v puck lights that are dimmable and have a blue "night light" mode. Whoever thought blue LEDs were a good idea to put in things to be used in a bedroom are monsters. I've had phone chargers, TV indicators, random recahargable doodads, etc that have all had the burning blue eye of Sauron burning into your eyes as you try and sleep. These don't look like that though. It's kinda frosted and subdued. We'll see when I go check them out this evening.
Also, to get the first panels level with the windows I used a 360* laser level. It worked GREAT. I didn't have to eyeball anything or rely on artistic impression of where the cut line should be. This is the one I used: https://www.amazon.com/Leveling-Hori...s%2C112&sr=8-7
The first big panel is devoid of wallpaper! I was pumped, as once these big pieces start going in, things go quickly. Of course, these take a fair amount of time to complete.
Next time: WALLS!


