The Eagle Has Landed
Eagle has landed. While not attached, I had to set the body down before sundown. 63 days from top popped to reattachment ready. My job regularly has me travel out of state for work, so if I worked from home or in town - as well as didn't have to drive 30 minutes one way to work on this thing, I could have completed it sooner. Still, I'm happy with the current timeline.
Reattaching the body was pretty uneventful. When I was replacing the outriggers, I made a tool to help me keep them in place. Essentially I took a 3 foot section of 1" aluminum angle and drilled a 1/4 hole in one end. I dropped a bolt through that hole, then used a couple of clams to clamp the angle to the frame so that the location of that hole wouldn't change. I'd cut the old outrigger out, then line up the hole of the new one with the bolt sticking through the angle, then weld it in. By doing this, all of the original outrigger holes in the channel lined up perfectly, which means my body skins should line up perfectly to the channel. Should. Should line up.
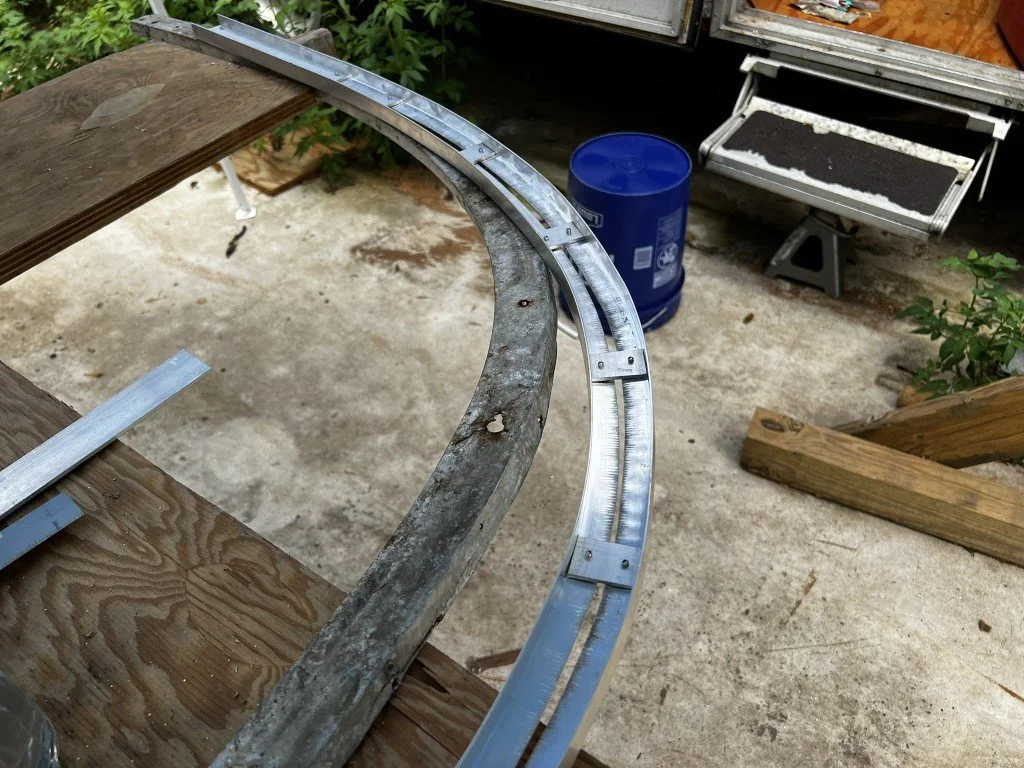
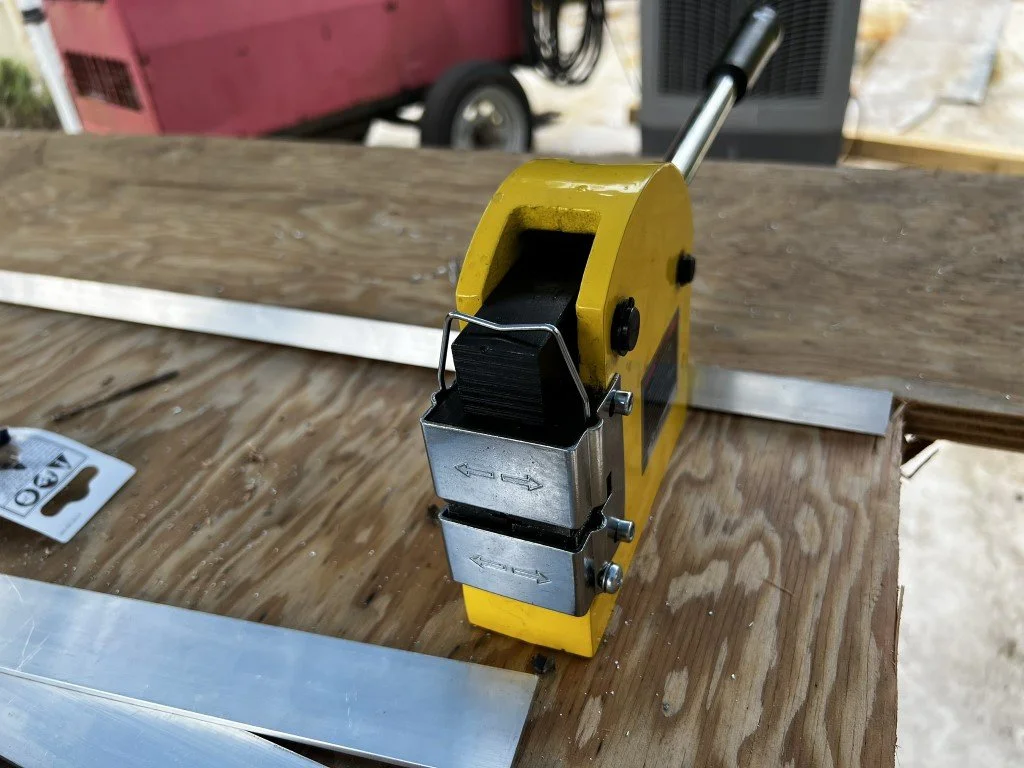
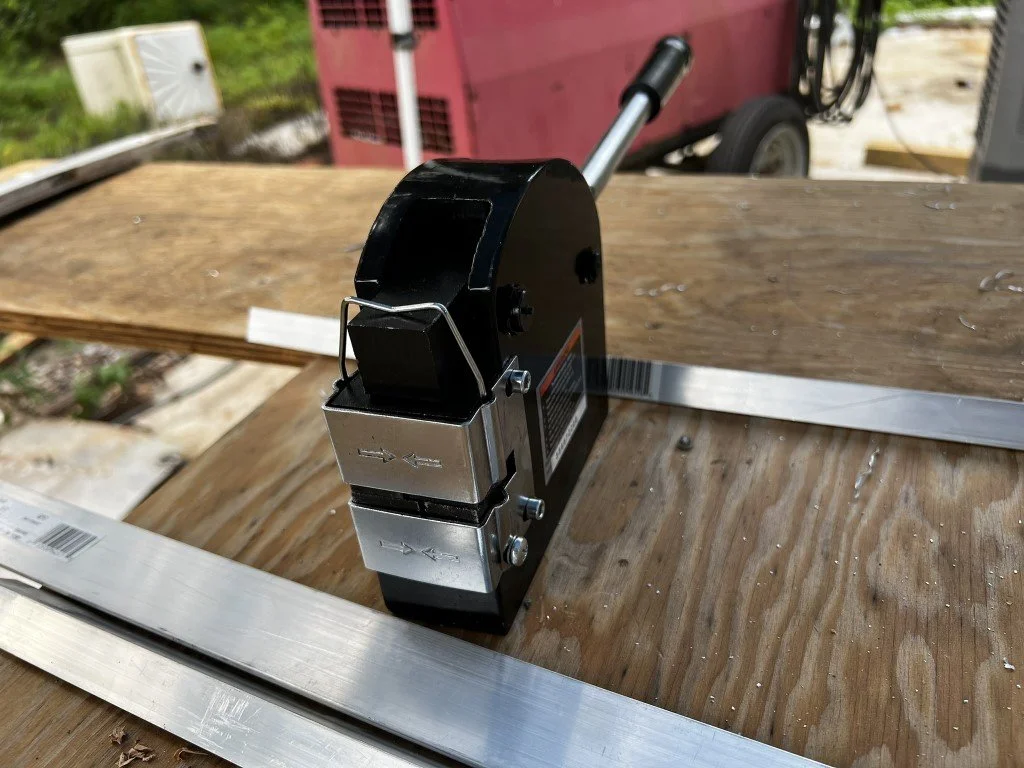
And now for the weak link of this build. I tried to find a source for a replacement rear curved channel but the only one I could find would be nearly $1k to get it here - AND I'd have to cut it in half to make it fit the narrow body. I looked at what others have used, and for some reason thought those setups were worse than that I came up with. My thought was a couple of sticks of 3/4" angle with a shrinker and stretcher to make my own that would get riveted and welded together.


The result wasn't bad, but it's not great. One solid piece is preferred for strength. I tried to beef it up with a piece of 1/8' aluminum on the inside rear of the wall, bending to an angle that sits nicely in the groove of the channel. Then, between it and the outer skin, I used a section of 16 gauge sheet metal to wrap under the floor and trailer frame. Then I bolted through all of it. Even with all of this, there was too much movement in the rear. I then had the bright idea to bypass the c-channel and securely attach the inner rib of the body directly to the frame, eliminating any weak links in the floor to frame attachment.
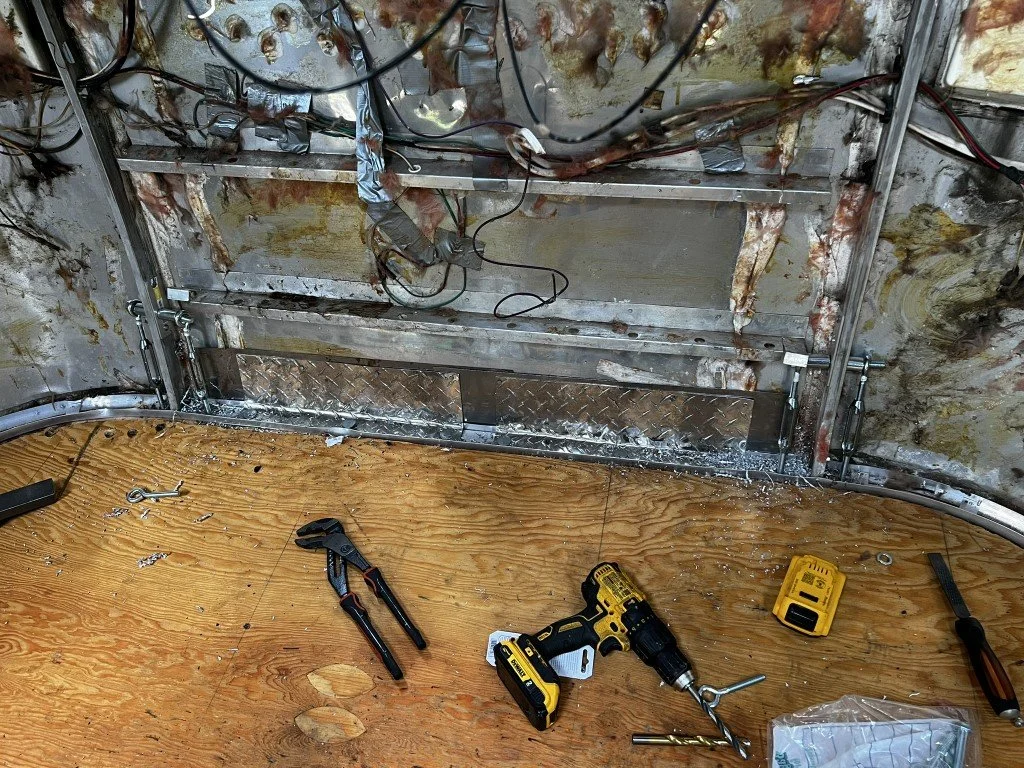
I sandwiched the upright ribs between two pieces of 1/8" aluminum plate that I buck riveted together with hardened rivets. I drilled a 1/2" hole through that sandwich. a 1/2" bolt goes through the eyelet of a turnbuckle, then a spacer, the upright, another spacer, and then another turnbuckle. The other end of the turnbuckle is just a piece of all-thread that goes through the floor and through the new rear crossmember of the trailer. There are four of them going through the frame, and jumping up and down on the frame shows no separation at all. I'm going to secure the turnbuckles with safety wire to make sure they don't loosen over time.


Coming up: Finishing the floor and taking it home!


